
The rear chrome bumper is surprisingly affordable to purchase online. It doesn’t even make sense to have it rechromed.
My original rear bumper did not look too bad on the outside except you can see small lines in the chrome when looking closely. However, the inside area which you don’t see very much was very rusted so I was on the fence on ordering a new replacement but figured I’d restore this one because I didn’t want to wait for a new one to be shipped in. I figured I can replace it with a new fresh one in the future if I wanted.
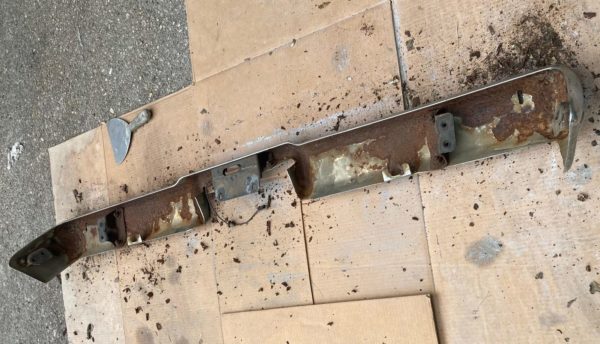
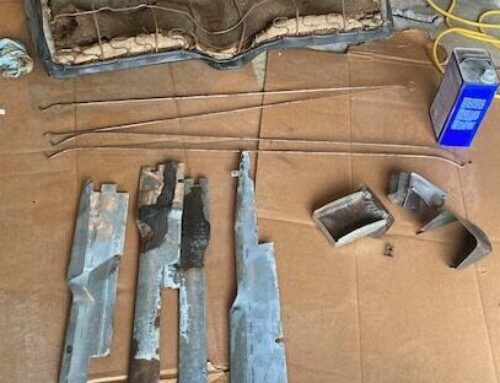
So I cleaned up the rust inside the best I could with various wire wheel brushes.
Then wiped it clean with lacquer thinner and brushed on a few coats of rust oleum rust reformer paint.
Then wiped it clean with lacquer thinner and brushed on a few coats of rust oleum rust reformer paint.
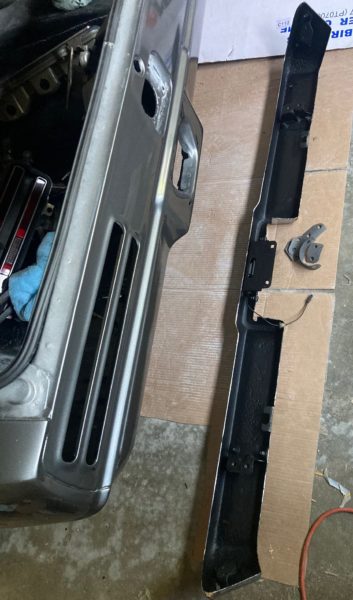
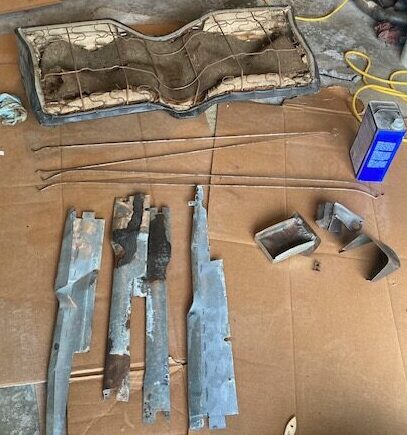
I believe the rear bumper is installed with rubber gaskets since it connects straight onto the body panel. Regardless, I wanted to create some gaskets to serve as a bit of a damper between the bracket and paint. I simply used gasket material and traced around the brackets to cut them out. You can see the gaskets that were made are shown in the middle of the photo.
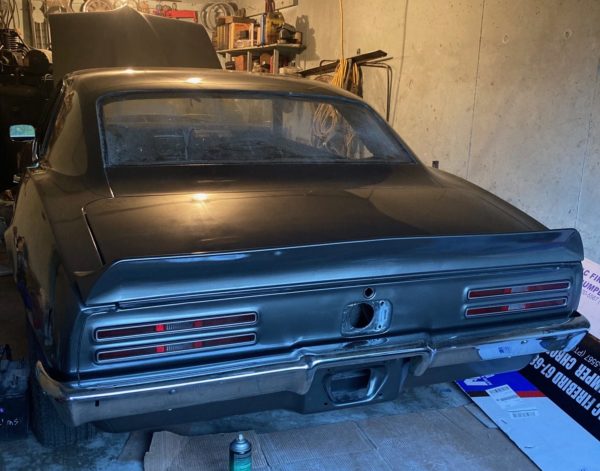
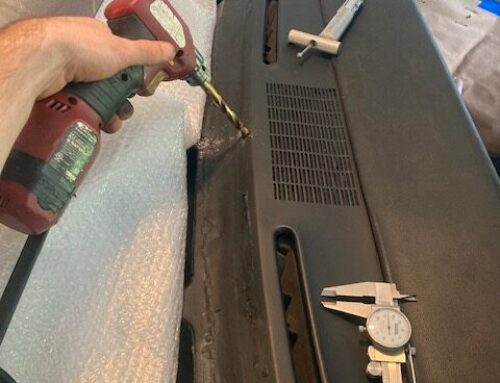
I glued the gaskets onto the brackets to hold them in place while installing. On the inside of the trunk, I placed the butyl tape (same stuff used around the windshield) around the bolts holes before tightening to prevent any water from getting in the trunk.

Leave A Comment