
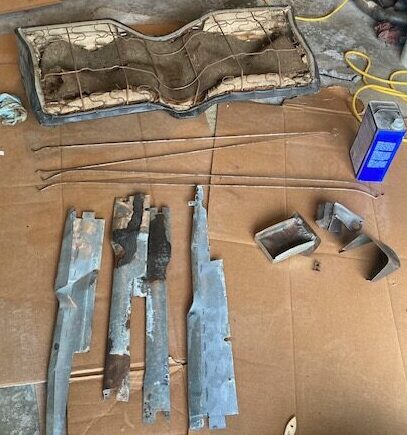
The windshield had a crack in it from when I installed the original back in the car over 15 years ago so it needed to be replaced.
The most affordable place including shipping is autocityclassic.com here. Shout out to them for being great to work with and having a great product. They have three options. I went with custom Grey tint with a shade band. It is only $30 more but to be honest the tint and shade band is very subtle so I am not sure if there is really a significant of enough difference.
They also have an option for a built in antenna. Not sure why their site doesn’t advertise it but they hooked me up with that option when I requested it. This allowed me to have a more modern look and not have to drill a hole for the antenna through my new front fender.
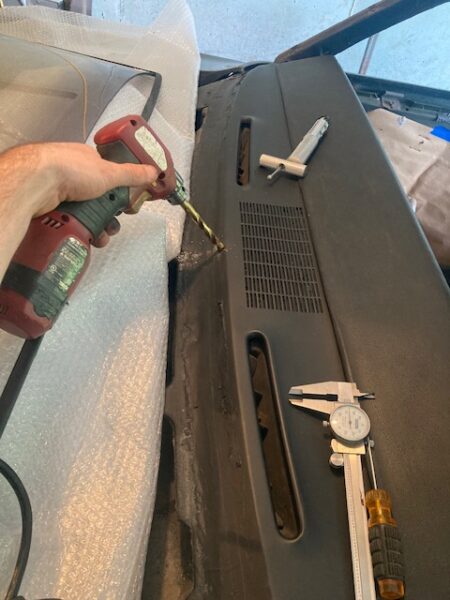
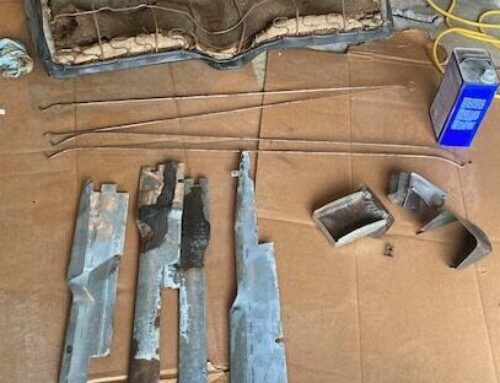
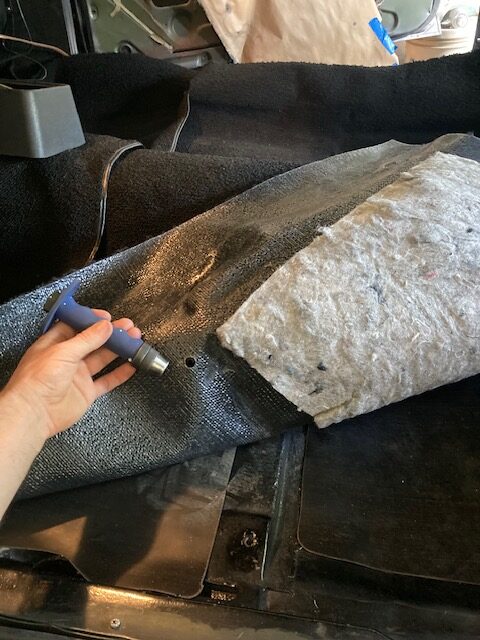
To install the antenna wires, I had to mark the center of the dash and drill a hole.

The cable wires slid through the hole and I proceeded to install the windshield. 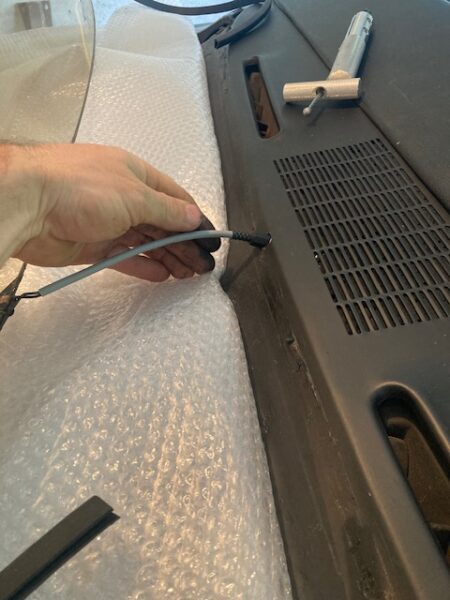 1. These old cars are sealed with a roll of butyl tape (aka ribbon sealer). I rolled a bead of that around then pinched it together.
2. The online video (shown below) recommended spraying instant detailer spray over it to allow the glass to slide around a little before the butyl tape sticks to it. I had detailer so I sprayed it
3. Using suction cups, I carefully placed it evenly on the car. I eye balled it evenly and the used calipers to measure the gaps on each side until they were equal. I probably went a little too far with perfection on that .
4. Once I was happy with it, I lightly pushed the glass into the butyl tape. It will push the detailer out also.
5. Be sure to not push too hard to get the corners to seal. Some corners and edges need more butyl tape to be built up. I cut piece of butyl tape and stuck it under the gaps. Then used a popsicle stick to push the tape in until it seals with the car and windshield.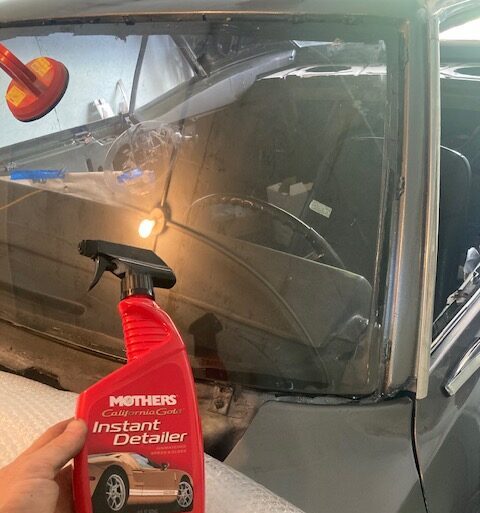
1. These old cars are sealed with a roll of butyl tape (aka ribbon sealer). I rolled a bead of that around then pinched it together.2. The online video (shown below) recommended spraying instant detailer spray over it to allow the glass to slide around a little before the butyl tape sticks to it. I had detailer so I sprayed it
3. Using suction cups, I carefully placed it evenly on the car. I eye balled it evenly and the used calipers to measure the gaps on each side until they were equal. I probably went a little too far with perfection on that .
4. Once I was happy with it, I lightly pushed the glass into the butyl tape. It will push the detailer out also.
5. Be sure to not push too hard to get the corners to seal. Some corners and edges need more butyl tape to be built up. I cut piece of butyl tape and stuck it under the gaps. Then used a popsicle stick to push the tape in until it seals with the car and windshield.

Leave A Comment