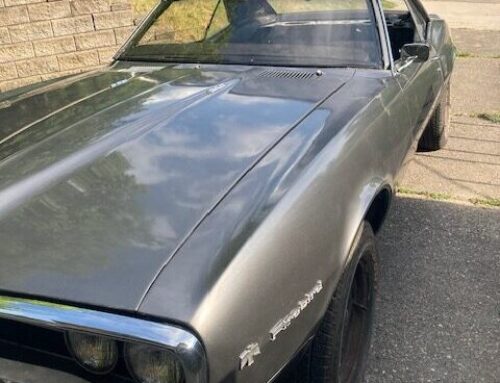
One of most noticeable cosmetic damage on the old Firebird was the large dents and rust in the rear quarter panels. This looked really ugly driving down the street and kind of embarrassing. So this is one of the first things that we wanted to replace. Odds are if you are restoring an older Firebird or any old classic, you will probably need to replace the rear quarter panels also. So this will explain some of the possible ways to replace it.
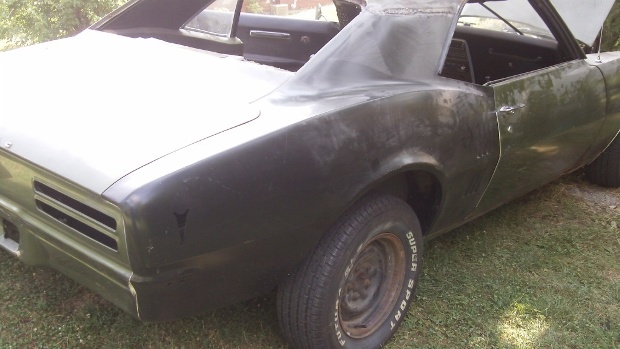
They sold replacement panels in sections or full replacements. We decided to replace the driver side with a partial replacement and the passenger side with a full replacement because the whole thing looked bad. The full replacement wraps around into the door jam and goes all the way to the roof of the car. While the partial replacement doesn’t wrap inside the door jam and goes up to the first bend.
The full panel was easier in terms of lining and welding the panel in correctly, while the partial panel required precise cutting to line the edges together and butt weld the sheet metal.
Since the partial panel was a little harder, I figured I would explain how I did it in the steps below. If you have a better way, please leave a comment.
- Before we cut out the old quarter panel from the car, we placed the new partial quarter panel over it as far as it would go and marked a line.
- This line obviously wasn’t as close as we needed it, but allows us to inch a little closer so I cut out the old quarter panel along that line.
- Once the majority the old panel was cut out, we placed the new panel on closer and repeated the process until the metal was lined up without overlapping.
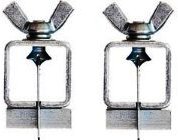
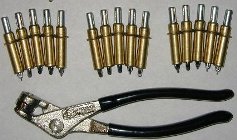
- Then the new quarter panel was positioned with butt weld clamps & cleco clamps.
- Before I started welding, we placed rolled up PlayDough around the edges of the welding area as a heat sink to prevent the sheet metal from warping.
- Lastly, the two panels were tack welded and then slowly welded in sections.

Leave A Comment